Lessons Learned.
It was thoroughly worth going through the motions of constructing the Chickshaw, but I think it was a mistake to treat the directions as definitively as I did. There are a number of instances where some confusion crept in.
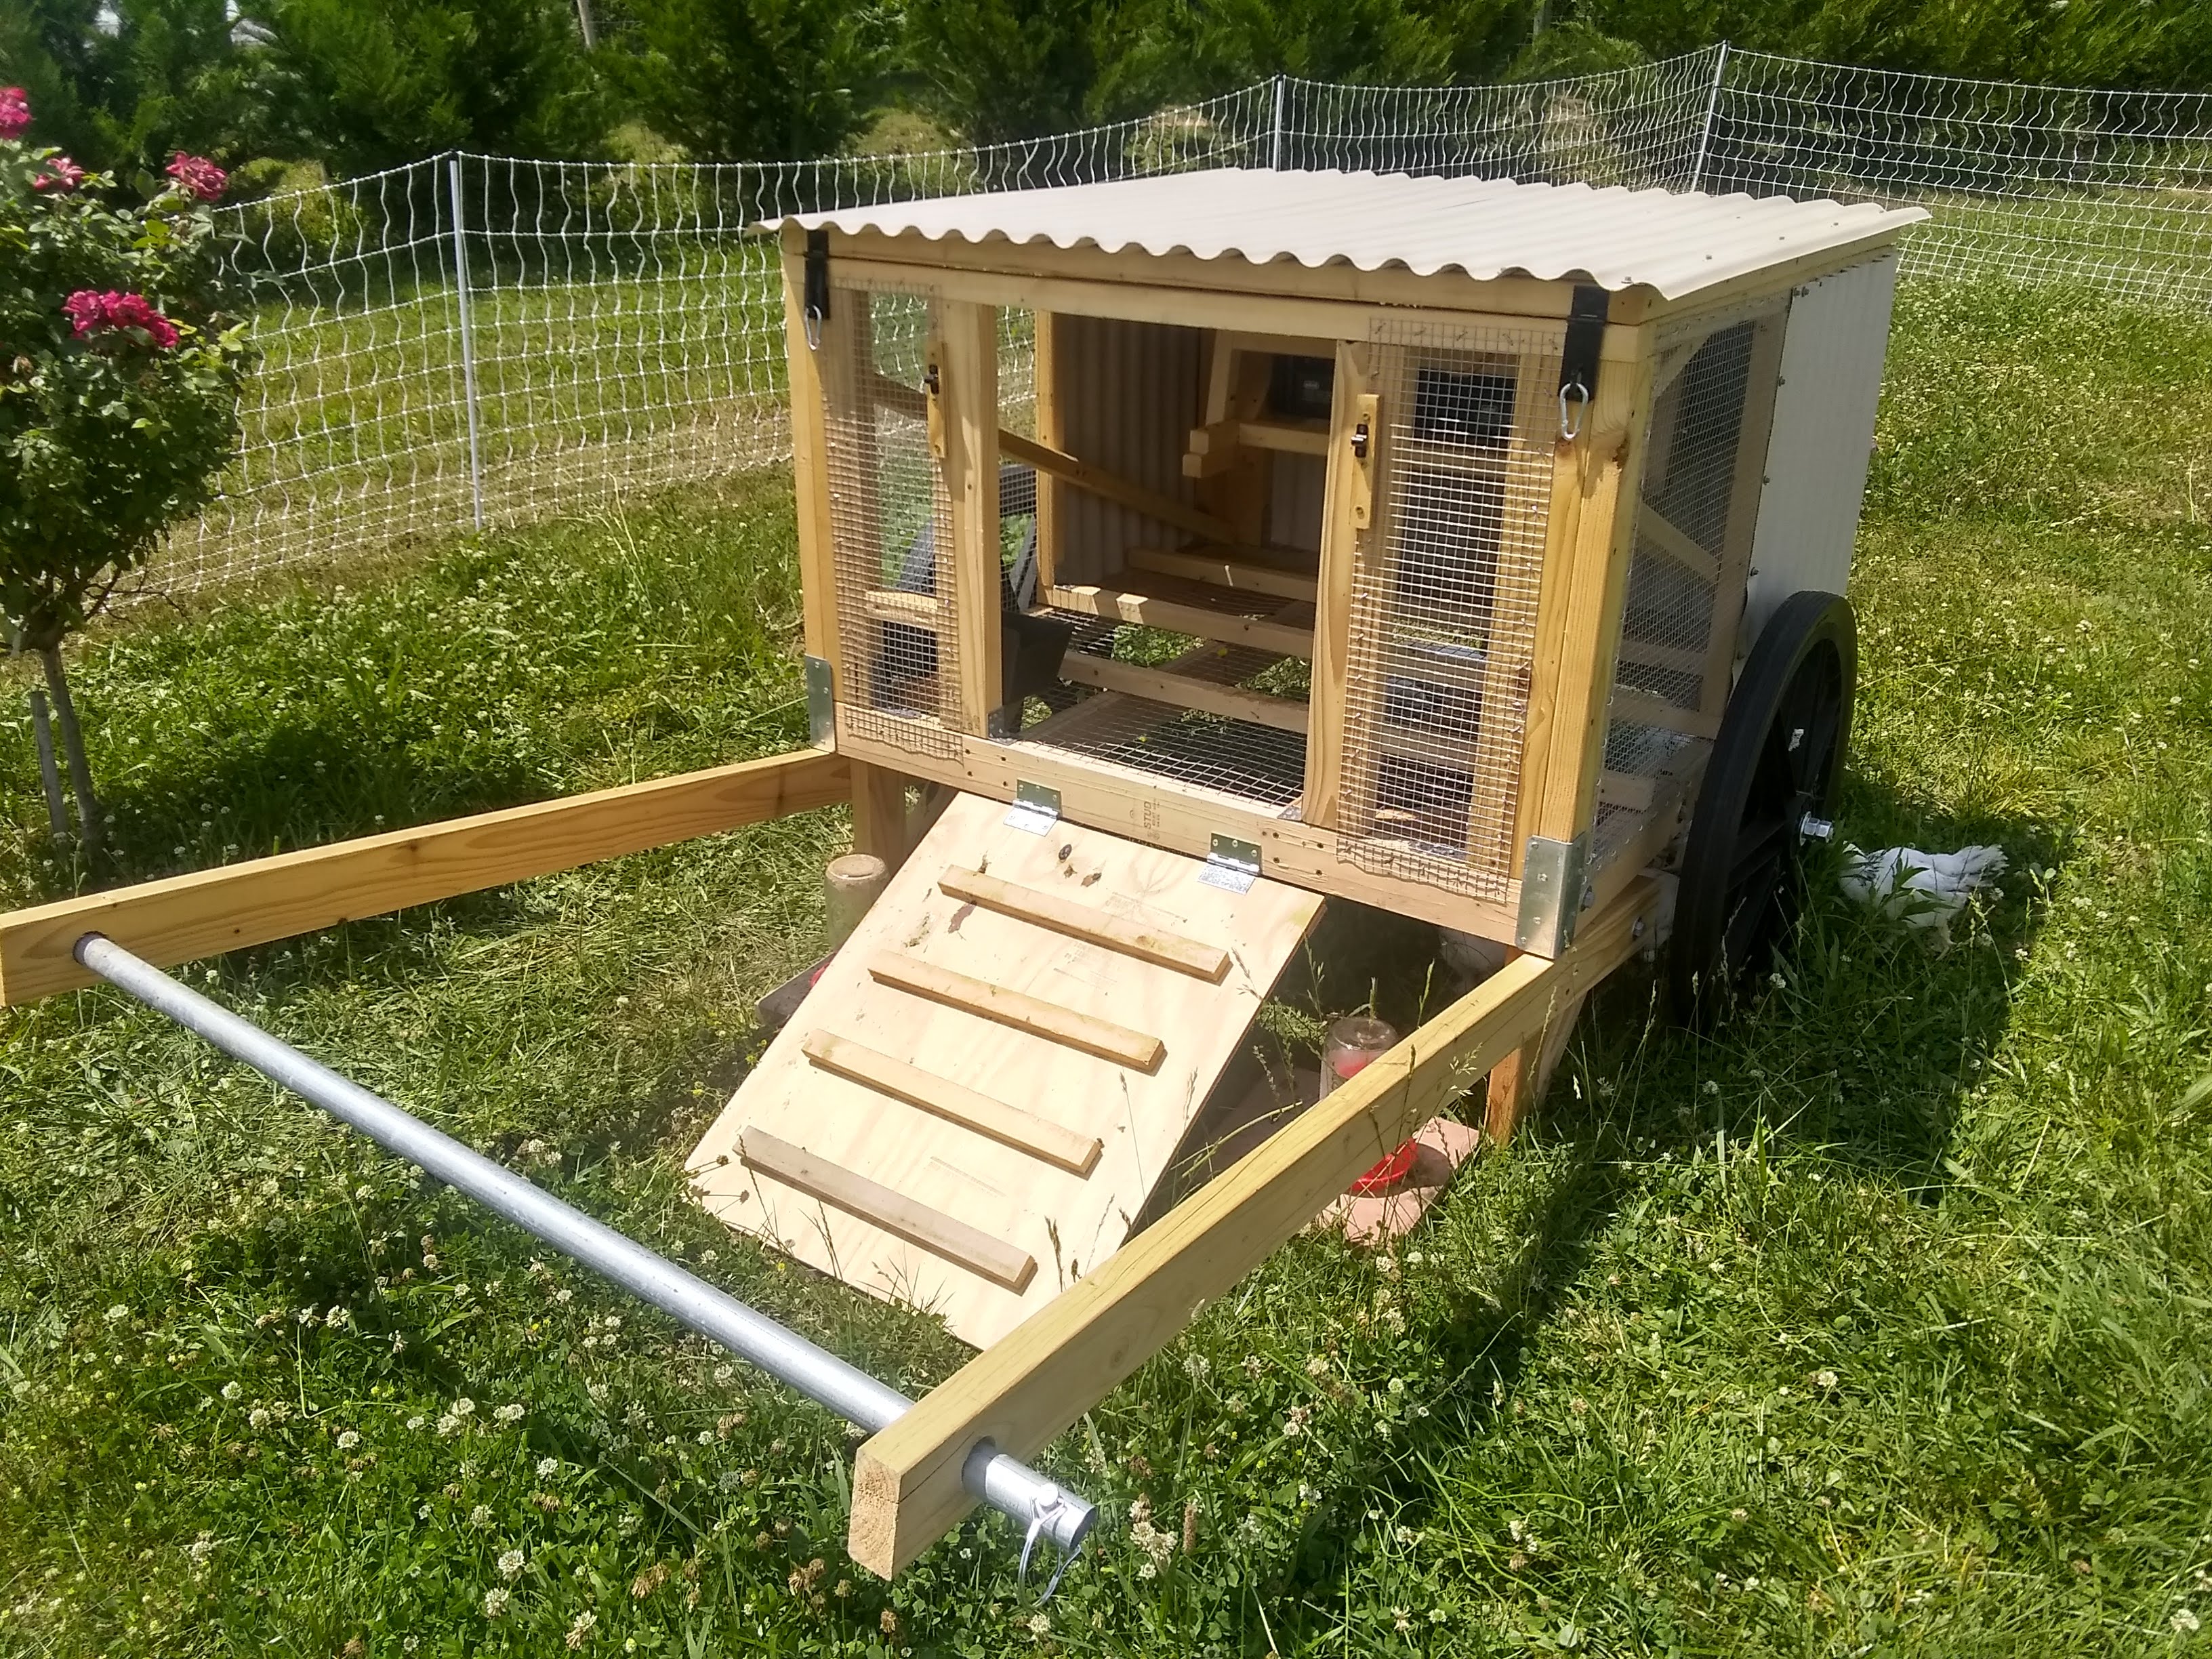
Should I ever need to build a second Chickshaw, my plan will be to use the first as an design starting point, and go from there. If anybody is interested in a more detailed description of the work and supplies needed, I’d be happy to give them at that time. At the moment, the construction is solid enough and works well enough that I’m pleased with the end result, however, with the confusion that I had regarding the directions, I’d shy away from definitive statements of how to build one, (exactly) what materials you’ll need, or an estimate of the cost.
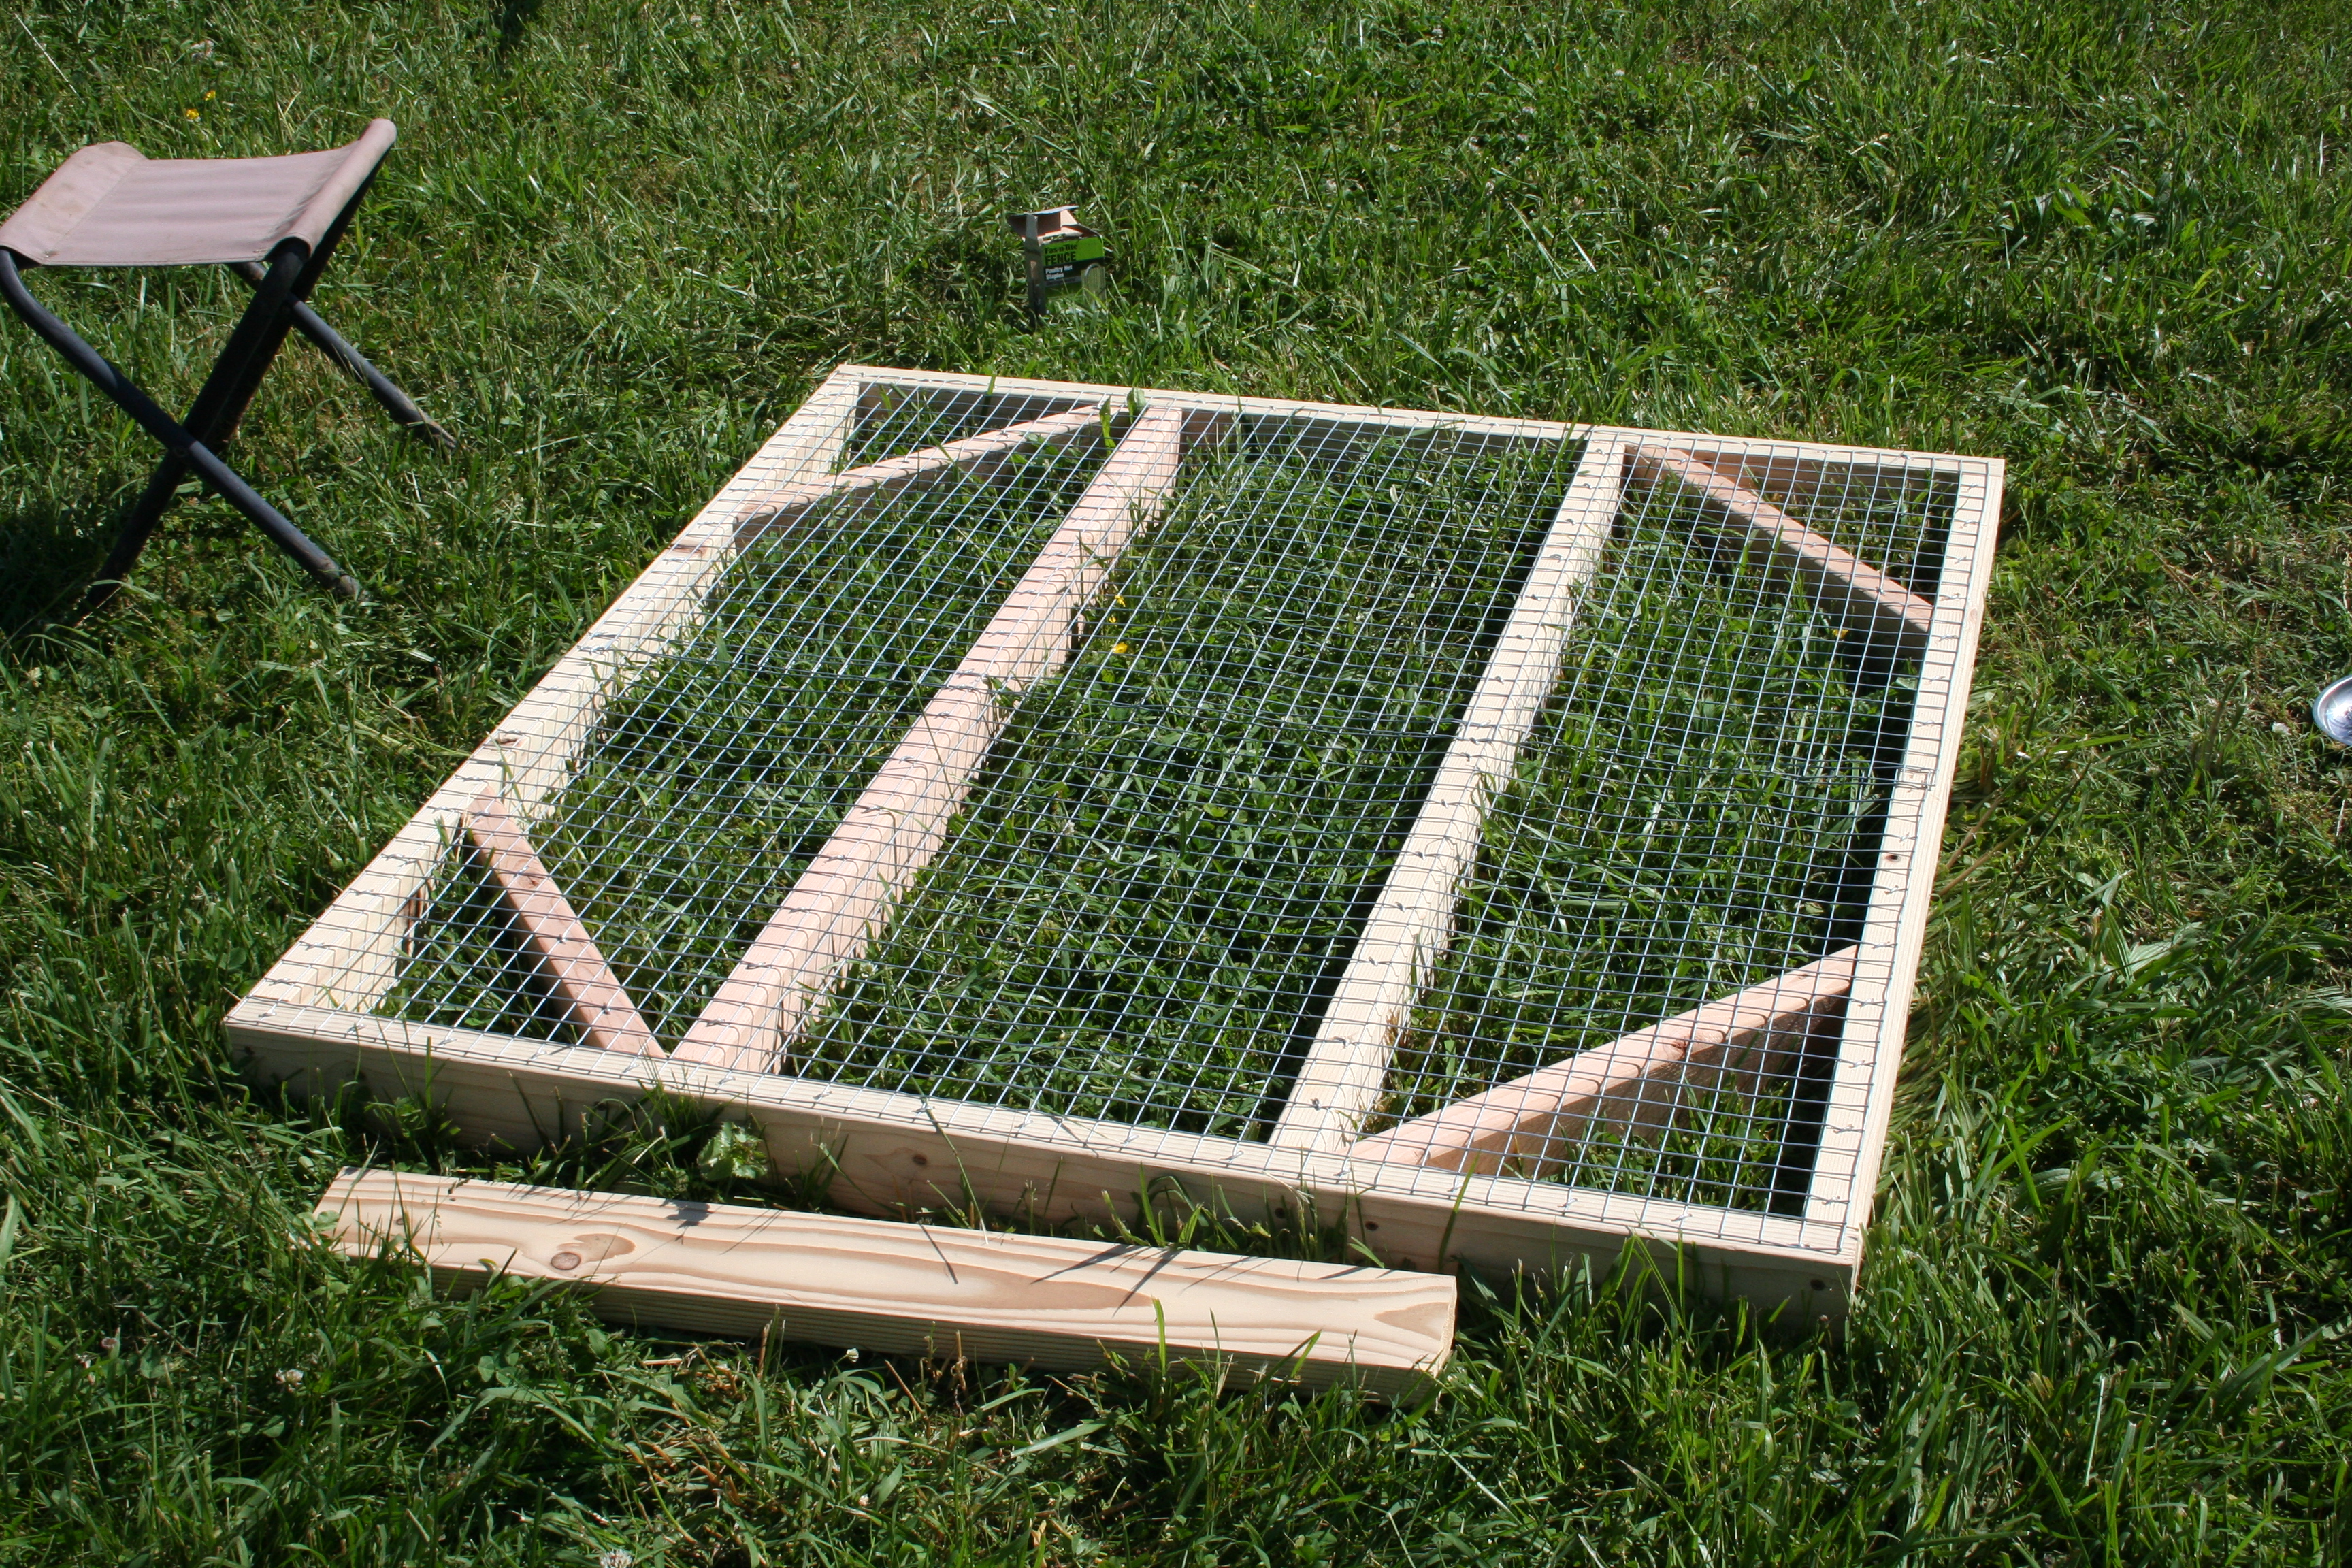
What I will say is that I’d recommend making the cuts as you go and where Justin Rhodes has tried to save you money by ripping 2x4s into 2x2s, these are not actually 2x2s since their dimensions are off. It’s not a big thing, but it made a couple of steps a little more difficult since I found 2x2s for sale at Home Depot fairly cheaply.
Update, 9 June 2019
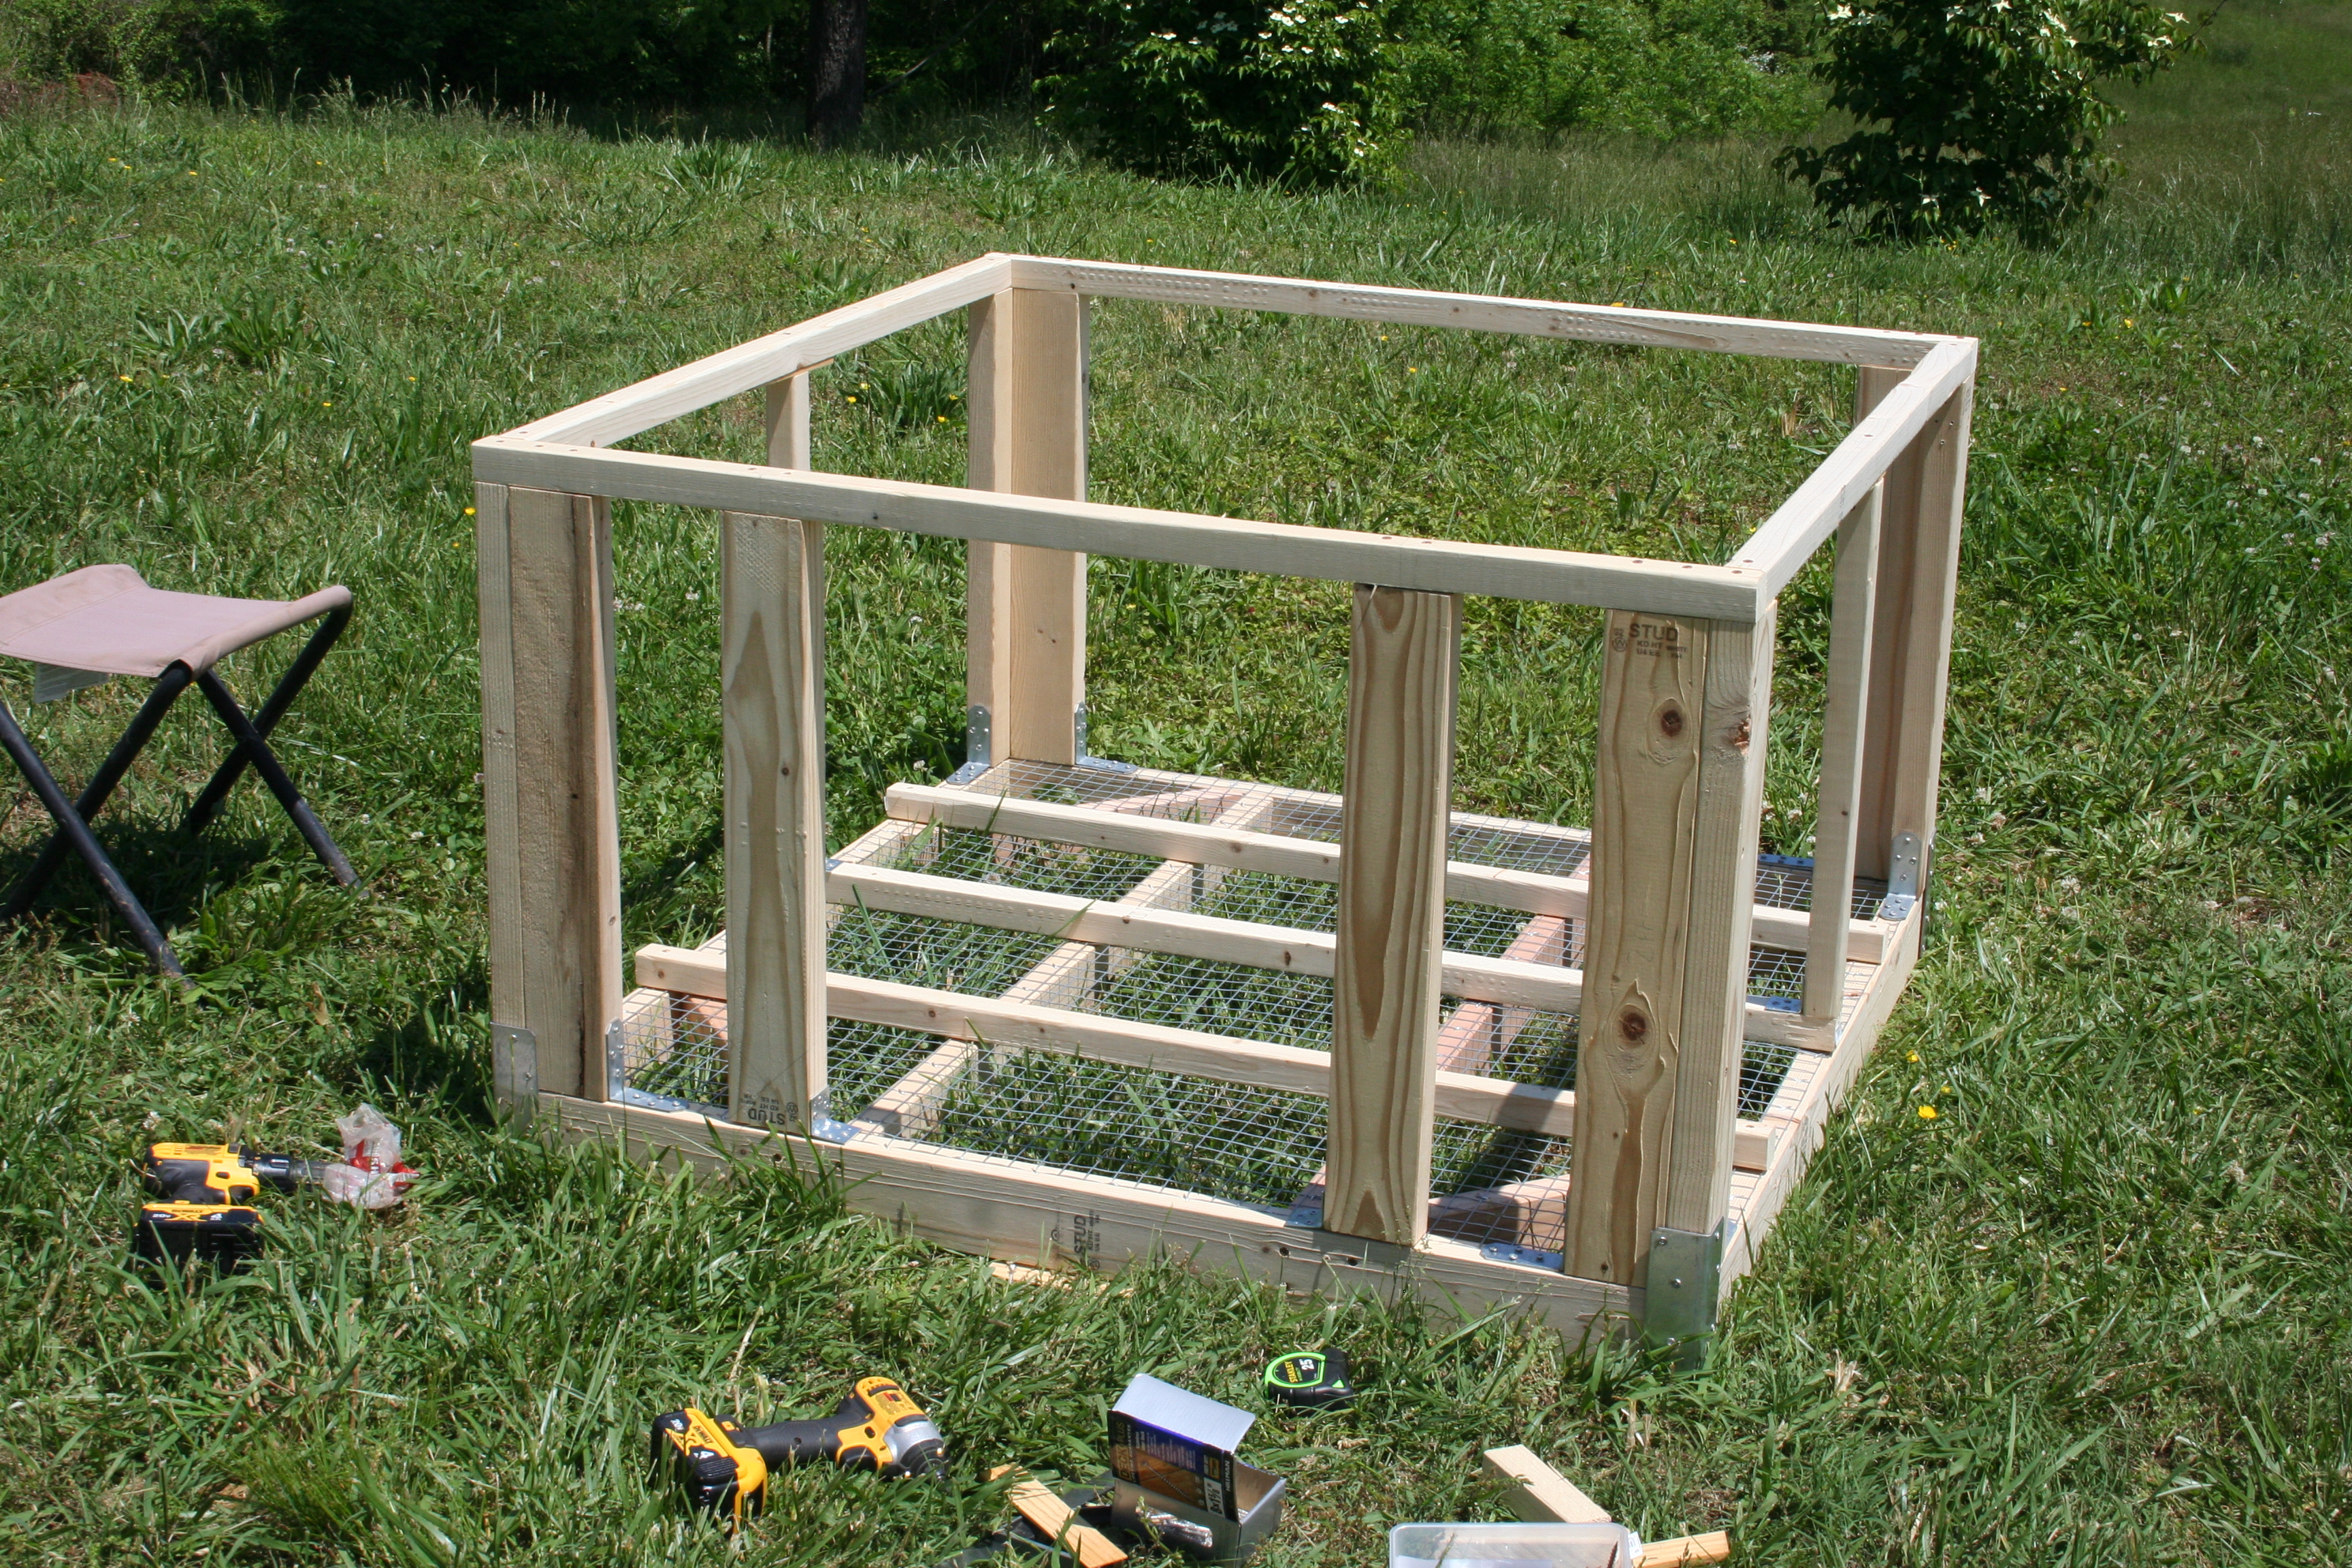
On 4 June, something got at the chickens through the 1″ wire mesh that makes up the floor and managed to kill and take about half of one of our birds. Until I can get hold of additional wire mesh to go underneath the chickshaw to ensure nothing can get that close again, I’ve connected that wire floor to an electric fence charger, which seems to have done the job so far. Should we have another tragedy, I’ll keep you posted,
